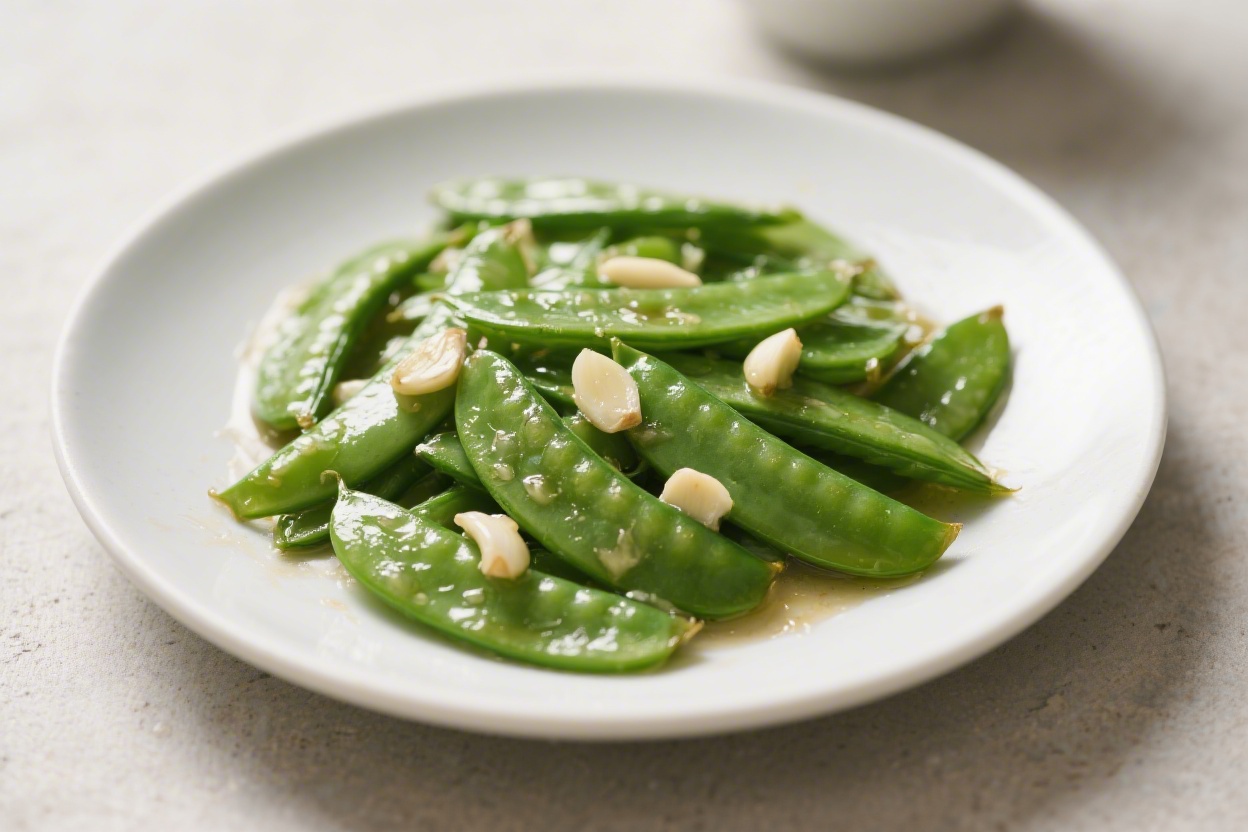
If you want a side dish that’s crisp, flavorful, and on the table in minutes, these garlic butter sautéed sugar snap peas are it. They’re sweet, bright, and a little bit garlicky, with just enough butter to feel special. Best of all, they cook in about 10 minutes from start to finish.
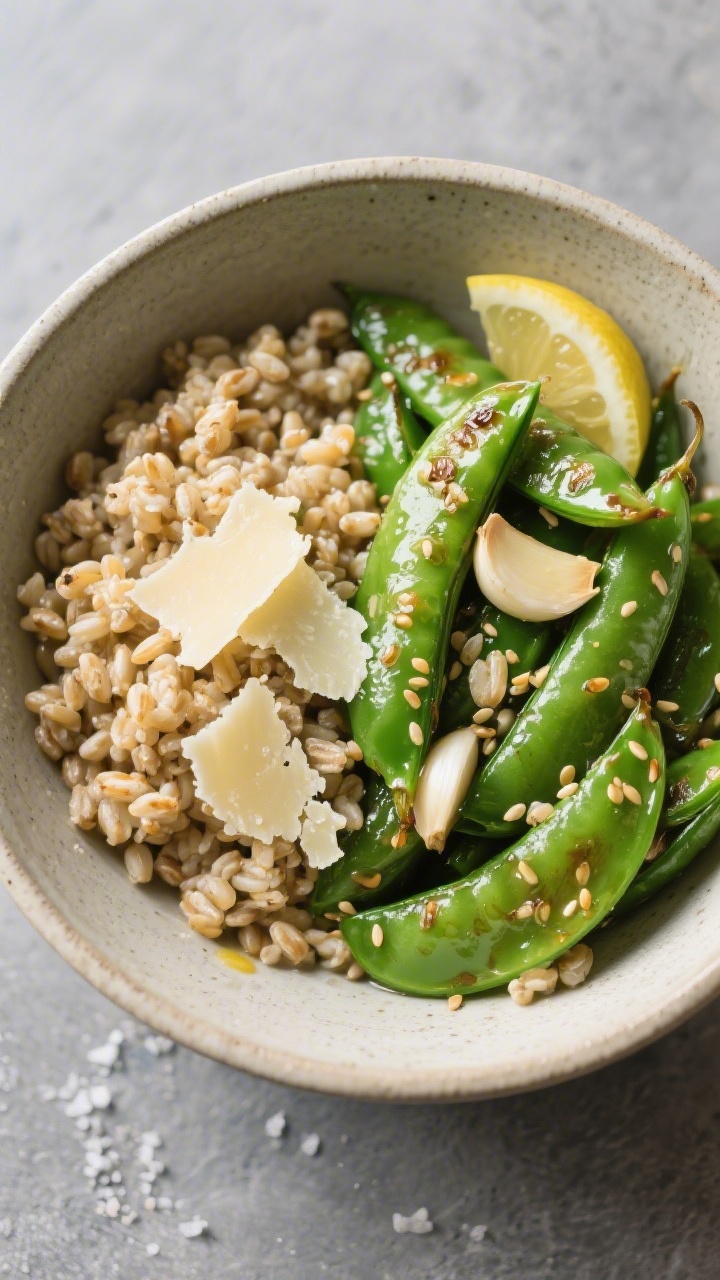
Serve them next to roast chicken, toss them into a grain bowl, or snack on them straight from the pan. This is an easy win on busy weeknights or when you need something fresh to balance a richer main.
Jump to RecipeWhat Makes This Special
- Ready fast: Ten minutes is all you need, including prep.
- Just a few ingredients: Sugar snap peas, butter, garlic, salt, pepper, and lemon make a complete, flavorful dish.
- Perfect texture: Quick sautéing keeps them crisp-tender, not mushy.
- Versatile: Works with almost any protein or grain, and you can jazz it up with herbs, chili flakes, or Parmesan.
- Kid-friendly: The natural sweetness of snap peas plus buttery garlic is a crowd-pleaser.
Ingredients
- 1 pound sugar snap peas, rinsed and dried
- 1–2 tablespoons unsalted butter (start with 1 tablespoon; add more for richness)
- 1 tablespoon olive oil
- 3 cloves garlic, finely minced
- 1/2 teaspoon kosher salt, plus more to taste
- 1/4 teaspoon black pepper
- Zest of 1/2 lemon
- 1–2 teaspoons fresh lemon juice, to finish
- Optional: pinch of red pepper flakes, 1 tablespoon grated Parmesan, or 1 teaspoon toasted sesame seeds
Step-by-Step Instructions
- Prep the peas: Rinse the sugar snap peas and pat dry. If there are tough strings along the seams, snap the tip and pull to remove.This only takes a minute and improves the bite.
- Preheat the pan: Set a large skillet over medium-high heat. Let it get hot for 1–2 minutes so the peas sear quickly.
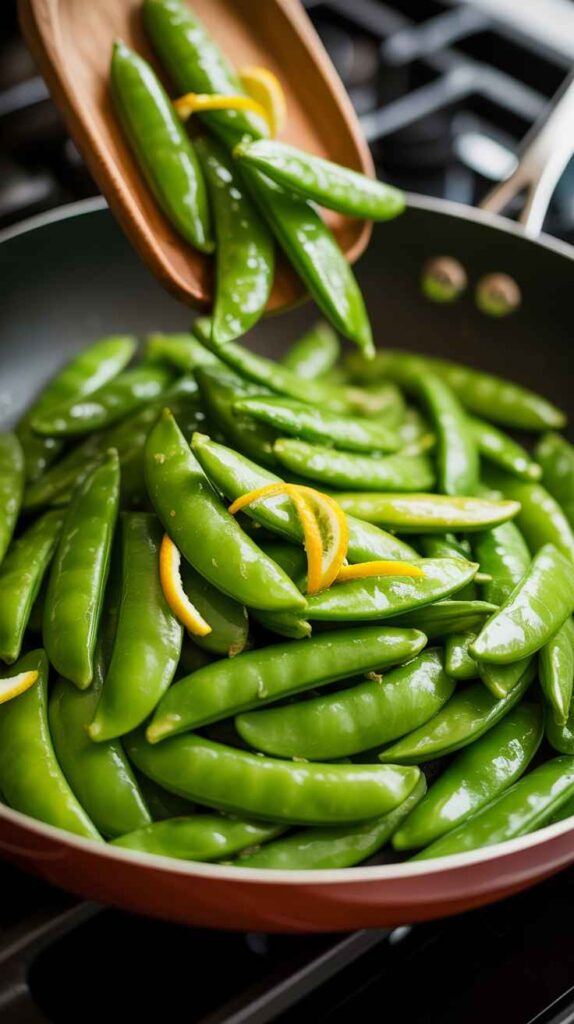
- Add oil and peas: Add the olive oil. Swirl, then toss in the snap peas in a single layer.You should hear a lively sizzle.
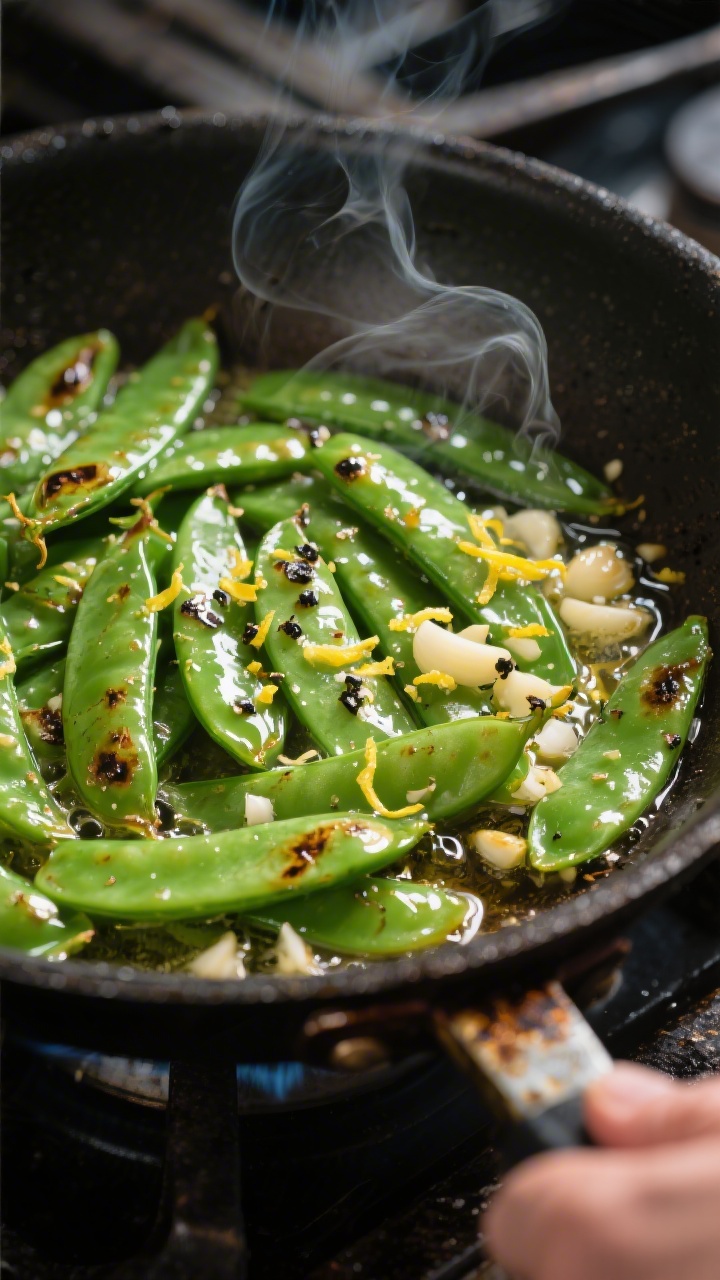
- Sear and toss: Cook for 2–3 minutes, stirring once or twice. You want bright green color with a few charred spots. Don’t over-stir—contact with the pan builds flavor.
- Make it garlicky: Push the peas to one side.Reduce heat to medium. Add the butter to the empty side and let it melt. Stir in the minced garlic and cook 20–30 seconds until fragrant, not browned.
- Combine and season: Toss the peas with the garlic butter.Sprinkle in the salt, pepper, and lemon zest. Cook another 1–2 minutes until crisp-tender.
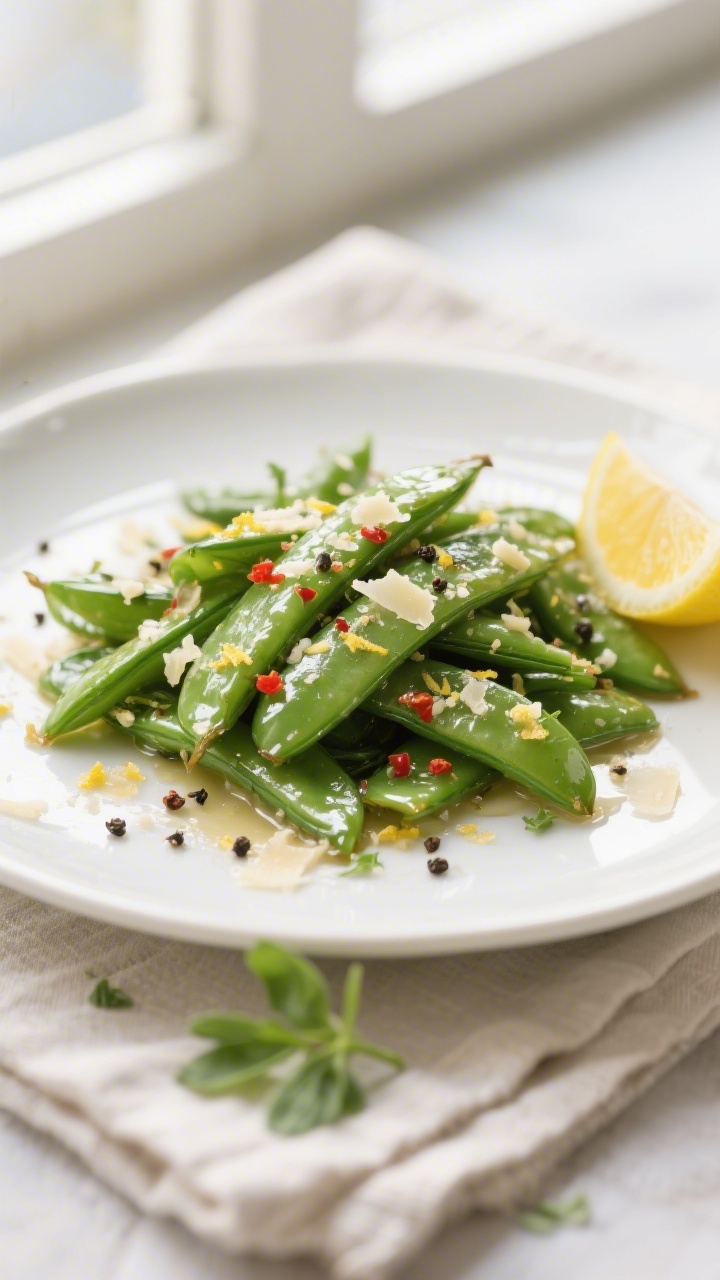
- Finish and taste: Turn off the heat. Squeeze in the lemon juice and toss.Taste and adjust salt or lemon as needed. Add red pepper flakes, Parmesan, or sesame seeds if using.
- Serve right away: Plate immediately for the best crunch and color.
10-Min Garlic Butter Sautéed Sugar Snap Peas
Crisp-tender snap peas tossed in garlic butter with a bright lemon finish
For the Snap Peas
- 1 lb sugar snap peas
- 1–2 tbsp butter
- 1 tbsp olive oil
- 3 cloves garlic
- 1/2 tsp salt
- 1/4 tsp black pepper
- Zest of 1/2 lemon
- 1–2 tsp lemon juice
Optional Add-Ins
- Red pepper flakes
- Grated Parmesan
- Sesame seeds
- Fresh herbs
Instructions
- Prep PeasRinse and dry snap peas.Remove strings if needed.
- Heat PanHeat skillet over medium-high.Hot pan helps sear.
- Add Oil & PeasAdd oil and snap peas.Single layer is best.
- SearCook 2–3 minutes until bright green.Do not over-stir.
- Add Butter & GarlicAdd butter and garlic, cook briefly.Do not burn garlic.
- SeasonAdd salt, pepper, and lemon zest.Toss well.
- FinishAdd lemon juice and optional toppings.Adjust flavor.
- ServeServe immediately.Best crisp.
Tips for the Best Results
- Do not overcrowd pan.
- Keep peas dry before cooking.
- Cook quickly for crisp texture.
- Add garlic at lower heat.
- Use fresh lemon for brightness.
- Serve immediately.
- Reheat in skillet only.
- Avoid overcooking.
Storage Instructions
- Refrigerate: Cool completely, then store in an airtight container for up to 3 days.
- Reheat: Warm in a hot skillet with a small knob of butter or a splash of water for 1–2 minutes. Avoid the microwave if you can; it softens the peas.
- Meal prep tip: Slightly undercook (by 30–60 seconds) if you plan to reheat later.They’ll finish to perfect tenderness when warmed.
- Freezing: Not recommended. The texture becomes soft and watery after thawing.
Why This is Good for You
- Fiber-rich: Sugar snap peas provide satisfying fiber that supports digestion and steady energy.
- Vitamins and antioxidants: They’re a good source of vitamin C, vitamin K, and carotenoids that support immune and eye health.
- Balanced fats: A small amount of butter plus olive oil adds flavor while keeping the dish light.
- Low effort, high payoff: Simple cooking keeps nutrients and natural sweetness intact.
Common Mistakes to Avoid
- Overcrowding the pan: Too many peas steam instead of sear. Use a large skillet or cook in batches.
- Burning the garlic: Add garlic after the butter melts and heat is reduced slightly.Burnt garlic tastes bitter.
- Skipping the dry-off: Wet peas won’t sear well. Pat them dry after rinsing.
- Overcooking: Snap peas should stay crisp-tender. Pull them off the heat while they’re still bright green.
- Using only butter over high heat: Butter alone can scorch.The olive oil raises the smoke point and keeps flavors clean.
Recipe Variations
- Sesame-Garlic: Swap lemon for 1 teaspoon soy sauce and 1/2 teaspoon rice vinegar. Finish with toasted sesame oil and seeds.
- Parmesan-Lemon: Add 1 tablespoon grated Parmesan and extra lemon zest to finish. Black pepper shines here.
- Chili-Lime: Use lime zest and juice, plus red pepper flakes or a pinch of cayenne.Great with grilled shrimp or tacos.
- Herb Lovers: Stir in chopped fresh mint, basil, or dill off heat. Herbs keep the dish bright and garden-fresh.
- Nutty Crunch: Top with toasted almonds, pine nuts, or chopped pistachios for texture and richness.
- Ginger-Garlic:</-strong> Add 1 teaspoon minced fresh ginger with the garlic. Finish with a splash of mirin or a touch of honey.
FAQ
Do I need to remove the strings from sugar snap peas?
For the best texture, yes.
Not all snap peas are stringy, but a quick check helps. Snap the tip and pull along the seam; if a string comes off, do both sides.
Can I use frozen sugar snap peas?
You can, but the texture won’t be as crisp. If you use frozen, thaw and pat dry very well, and cook quickly over high heat to minimize sogginess.
What’s the difference between snow peas and sugar snap peas?
Snow peas are flatter and less sweet, with small peas inside.
Sugar snap peas are plumper, sweeter, and juicier. This recipe is best with sugar snap peas.
How do I keep the peas bright green?
High heat, short cook time, and a dry pan at the start. Turn off the heat as soon as they’re crisp-tender and bright green.
Can I make this dairy-free?
Yes.
Use only olive oil or swap butter for a plant-based butter. You’ll still get great flavor, especially with lemon and garlic.
What proteins pair well with this side?
Roast chicken, salmon, seared steak, tofu, shrimp, or baked cod all work well. The clean flavors of the peas complement rich mains.
Can I add other vegetables to the pan?
Sure.
Thinly sliced carrots, baby corn, or bell peppers are great. Start with the firmer veggies, then add the snap peas for the last few minutes.
How do I know when they’re done?
They should be glossy, bright green, and tender with a crisp snap when bitten. If they start to wrinkle or turn olive-drab, they’re overcooked.
Jump to Recipe
In Conclusion
These 10-minute garlic butter sautéed sugar snap peas are the kind of side that makes dinner feel put together without extra work.
They’re fresh, flavorful, and flexible, with a short ingredient list and a big payoff. Keep a bag of snap peas in the fridge, and you’ve always got a fast, healthy option ready to go. Once you make them a couple of times, you’ll know the timing by heart—and they might just become your default weeknight green.