If you’ve ever craved homemade candy but thought you needed hours of baking time, think again. These 5-minute no-bake chocolate peanut butter cups prove that making confectionery magic doesn’t require an oven, thermometer, or culinary school. With just six simple ingredients and a muffin tin, you’ll have decadent homemade candy that beats store-bought versions. These cups taste fresher and richer than commercial versions, without mysterious additives or preservatives.
Jump to RecipeThe beauty of no-bake recipes is their simplicity and speed. While freezing takes time, actual hands-on work takes just five minutes. You combine a few ingredients, layer them strategically, and let cold temperatures do the heavy lifting. This makes them perfect for last-minute gatherings, unexpected guests, late-night cravings, or when you want chocolate peanut butter bliss without fuss. If you’re intimidated by candy-making, this recipe will change your mind.
Why This Recipe Works
This recipe succeeds through balance and simplicity. The filling relies on three ingredients: peanut butter, butter, and powdered sugar. This trio creates a filling that’s creamy, rich, and perfectly cohesive without being overly dense. Butter adds richness while powdered sugar provides sweetness and structure. Semi-sweet chocolate combined with coconut oil creates a shell that snaps satisfyingly when you bite through it. Coconut oil prevents the chocolate from becoming too thick as it cools, while still solidifying properly for easy handling and storage. Together, these ingredients create layers that complement each other perfectly, which is exactly what makes homemade candy work. The simplicity of this approach means you can’t go wrong, making it ideal for first-time candy makers and experienced cooks alike.
Jump to RecipeWhat You’ll Need
1 cup natural peanut butter or conventional peanut butter
1/4 cup unsalted butter, softened
1 cup powdered sugar
8 ounces semi-sweet or dark chocolate chips
2 tablespoons coconut oil
Pinch of sea salt (optional, for garnish)
Step-by-Step Instructions
Prepare your station. Line a standard 12-cup muffin tin with paper liners and set it on your counter. Having everything ready before you begin is the foundation of this quick recipe.
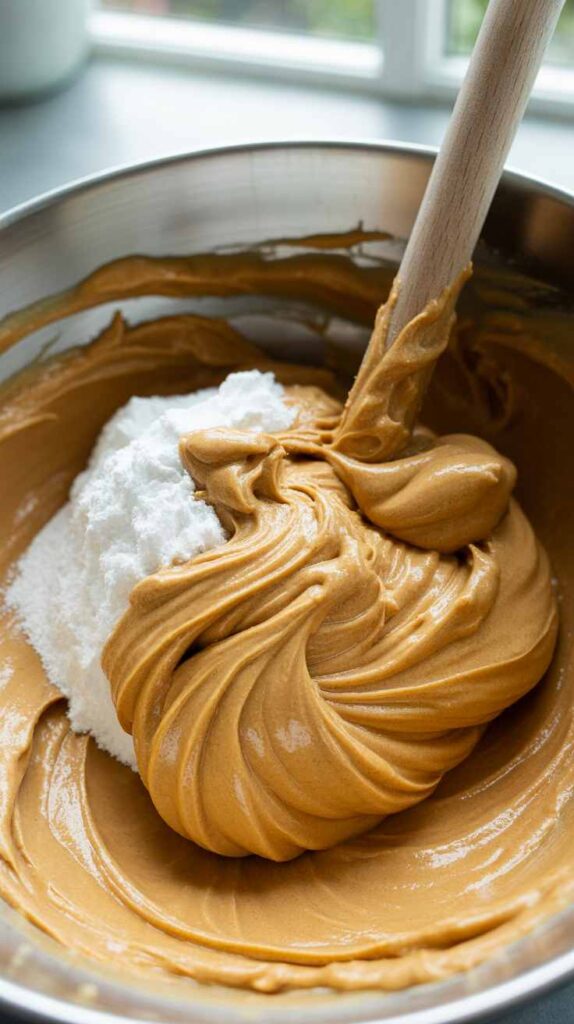
Blend the filling. Add softened butter, peanut butter, and powdered sugar to a medium bowl. Use a hand mixer on low speed and blend until smooth and completely combined with no visible powdered sugar streaks remaining. This usually takes two to three minutes depending on mixer speed. A fork works as well if you don’t have a mixer, though it requires more manual effort. The goal is achieving a uniform mixture that’s fluffy rather than grainy.
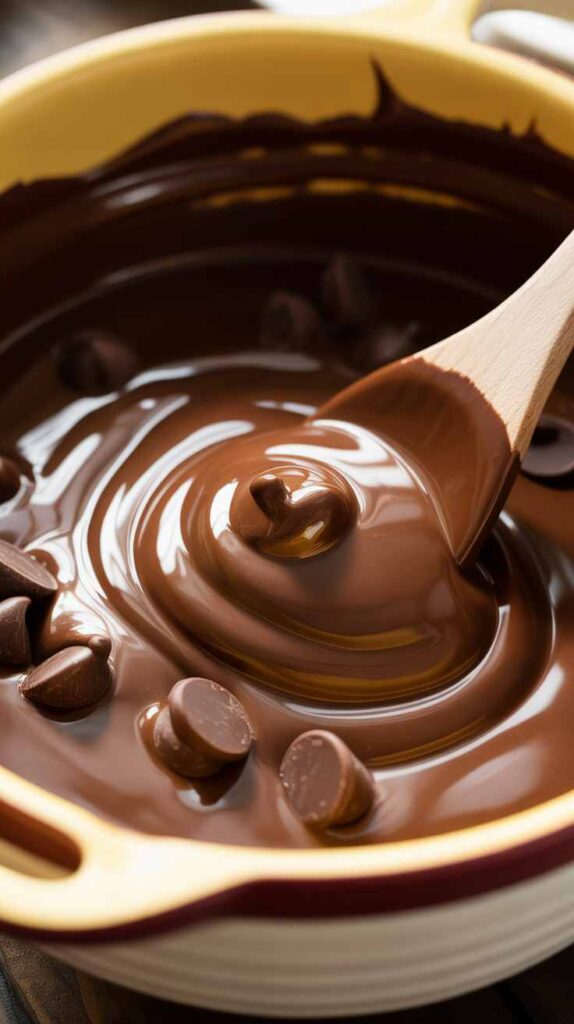
Melt the chocolate base layer. Combine chocolate chips and coconut oil in a microwave-safe bowl. Microwave in 20-second intervals, stirring thoroughly between bursts to prevent scorching and ensure even melting. This gentle approach keeps the chocolate smooth and silky rather than thick and clumpy. Once fully melted, let it cool for about one minute before using so it’s easier to work with.
Add the first chocolate layer. Spoon one tablespoon of melted chocolate into each muffin liner. Use the back of your spoon to spread it evenly, creating a thin, even layer across the bottom. This base layer is crucial because it holds your peanut butter filling in place. Freeze for five minutes while you prepare the next step.
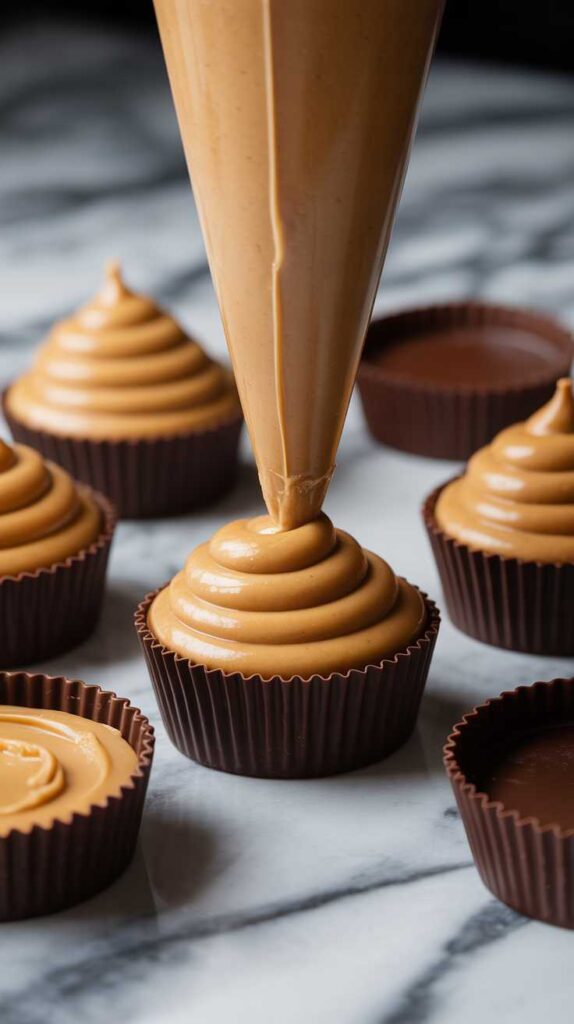
Fill with peanut butter mixture. Remove the tin from the freezer and top each chocolate base with two heaping teaspoons of peanut butter filling. Press gently to adhere. Leave a small margin at the top for the final chocolate layer.
Seal with chocolate. Cover each peanut butter-filled cup with another tablespoon of melted chocolate, using your spoon to nudge the chocolate over the edges and ensure complete coverage. Tap the muffin tin gently on the counter a few times to help the chocolate settle and smooth out the tops naturally. This tapping technique creates a professional-looking finish.
Freeze until set. Transfer the tin to the freezer for at least two hours, though overnight is ideal. The cups need sufficient time to firm up completely so they hold together when removed from the liners without cracking or separating. Once fully frozen, they’re ready to serve immediately or store for later enjoyment.
How to Store
Store your finished chocolate peanut butter cups in an airtight container in the refrigerator for up to two weeks or in the freezer for up to three months. The cold environment is crucial since these cups will soften significantly at room temperature, especially once you bite into them. If you live somewhere warm or your kitchen runs hot, keep them in the freezer rather than the fridge for maximum stability and texture. You can eat them straight from the freezer, which intensifies the chocolate snap and makes each bite more satisfying. Many people prefer them partially thawed, so experiment with timing to find your favorite texture. If you accidentally leave them on the counter and they soften, simply pop them back in the freezer for 30 minutes to re-firm them.
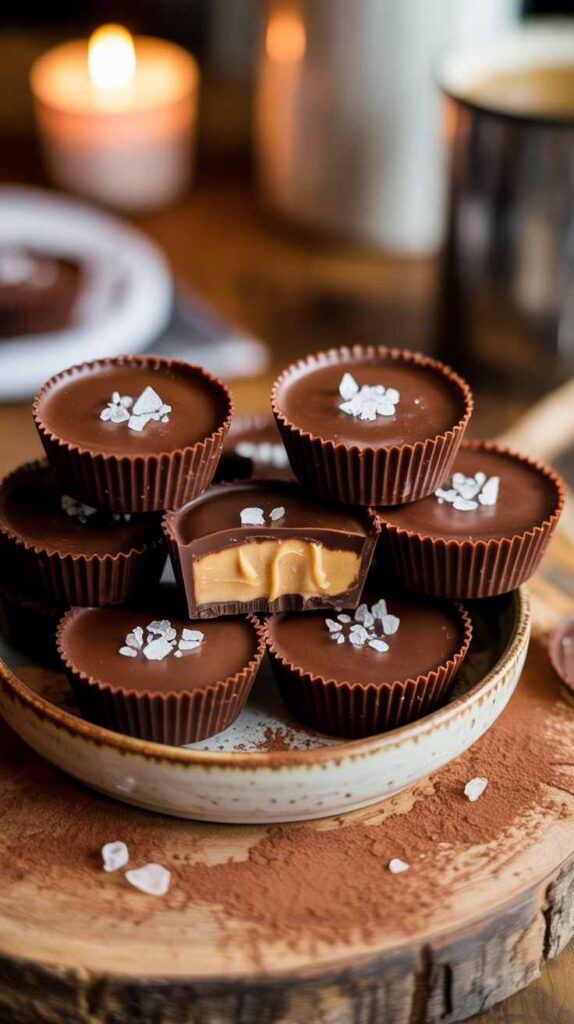
5-Min No-Bake Chocolate Peanut Butter Cups
Rich, creamy peanut butter cups with a crisp chocolate shell
For the Filling
- 1 cup peanut butter
- 1/4 cup butter, softened
- 1 cup powdered sugar
For the Chocolate Shell
- 8 oz chocolate chips
- 2 tbsp coconut oil
Optional Garnish
- Pinch of sea salt
Instructions
- Prepare TinLine a muffin tin with paper liners.Keeps cups easy to remove.
- Mix FillingBlend peanut butter, butter, and powdered sugar until smooth.Ensure no lumps remain.
- Melt ChocolateMelt chocolate chips with coconut oil in intervals, stirring.Avoid overheating.
- Create BaseAdd a layer of melted chocolate to each liner and freeze briefly.Let it set before filling.
- Add FillingAdd peanut butter mixture on top of chocolate layer.Leave space for top layer.
- SealCover with remaining melted chocolate and smooth.Tap tray to remove air bubbles.
- FreezeFreeze for at least 2 hours until firm.Ensures proper structure.
- ServeRemove from liners and serve cold.Best stored chilled.
Tips for the Best Results
- Do not overheat chocolate.
- Use room temperature peanut butter for smooth filling.
- Freeze base layer before adding filling.
- Tap tray for smooth finish.
- Store in fridge or freezer for best texture.
- Adjust sweetness to taste.
- Use quality chocolate for best flavor.
- Serve chilled for clean bites.
Health Benefits
Peanut butter provides protein: Each cup contains protein that stabilizes energy and keeps you satisfied longer than pure candy would.
Antioxidants from chocolate: Dark and semi-sweet chocolate contain flavonoids that support cardiovascular health and reduce inflammation, especially when you choose higher cocoa percentages.
Healthy fats: Peanut butter and chocolate contain monounsaturated fats that support heart health and provide sustained energy when consumed in moderation.
Portion control: Making your own candy in muffin tins creates 12 reasonable portions, helping you practice moderation compared to store-bought cups.
Pitfalls to Watch Out For
Pitfall: Using overly thin chocolate. If your melted chocolate is too thin, it’ll run off instead of creating a solid shell. This happens when coconut oil ratio is too high. Measure carefully.
Pitfall: Freezing too hastily between layers. Rushing the first freeze step causes the peanut butter layer to separate from the chocolate base. Give that base layer the full five minutes before adding the filling.
Pitfall: Using cold peanut butter. Cold peanut butter won’t blend smoothly. Let everything reach room temperature before mixing to ensure a uniform, creamy filling.
Pitfall: Skipping the settling tap. Tapping the tin on the counter after adding the top chocolate layer helps air bubbles escape and creates a smooth finish.
Jump to Recipe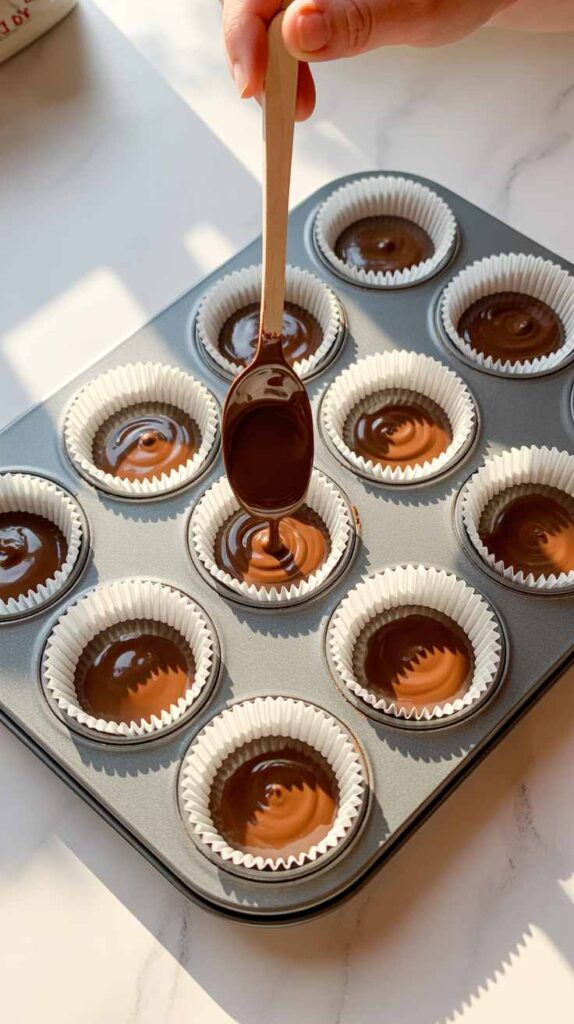
Alternatives
White chocolate coating: Use white chocolate chips instead of semi-sweet for a lighter flavor profile that appeals to those who find dark chocolate too intense.
Almond butter filling: Swap peanut butter for almond butter if you want a more delicate flavor or need to accommodate allergies. The ratio stays the same.
Honey-sweetened filling: Replace powdered sugar with honey for natural sweetness. Use three-quarters cup and adjust to preference since honey is more concentrated.
Crispy version: Add one-half cup of crushed graham crackers or crispy rice cereal to your peanut butter filling for pleasant crunch.
FAQ
Can I use natural peanut butter with the oil on top?
Yes. Natural peanut butter works perfectly. If your jar has separated, stir the oil back in before measuring. The result is slightly softer than conventional peanut butter but with superior flavor.
How do I keep the chocolate from getting too thick while I work?
Reheat the chocolate for five to ten seconds between layers if it begins to thicken. A microwave provides precise temperature control and prevents seizing or graininess.
Can I make these in silicone molds instead of a muffin tin?
Silicone molds work wonderfully and produce pretty results since they’re flexible. The process is identical. After freezing, pop the finished cups out and store them.
Jump to RecipeWhat’s the difference between coconut oil and other oils?
Coconut oil has a higher melting point and solidifies as chocolate cools, creating a proper shell. Vegetable oil won’t firm up the same way and results in a softer, greasier coating.
Can I double this recipe?
Yes. Simply multiply each ingredient by two or three and use multiple muffin tins. The timing remains the same.
Wrapping Up
Five-minute no-bake chocolate peanut butter cups prove that homemade candy doesn’t require advanced skills or complicated equipment. With nothing more than a muffin tin and a microwave, you can create confectionery that tastes fresher and richer than anything mass-produced. The satisfaction of biting into a cup you made yourself, with chocolate that snaps cleanly and peanut butter that melts on your tongue, makes this recipe worth repeating. Keep a batch in your freezer for those moments when you need a quick indulgence, and enjoy knowing exactly what’s inside every single bite.