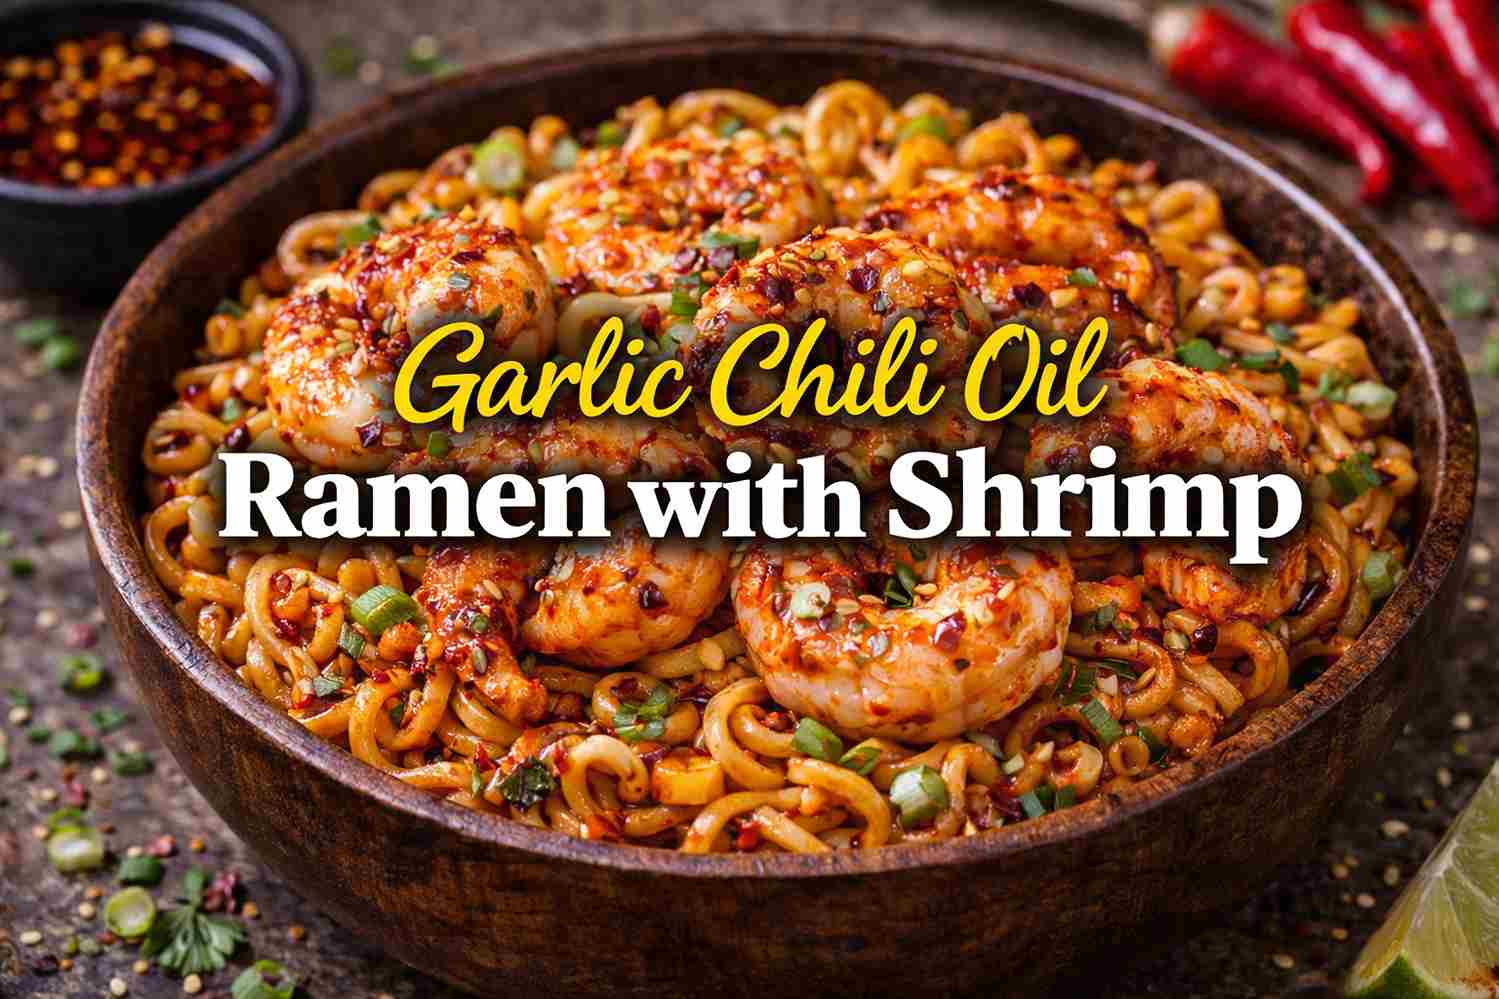
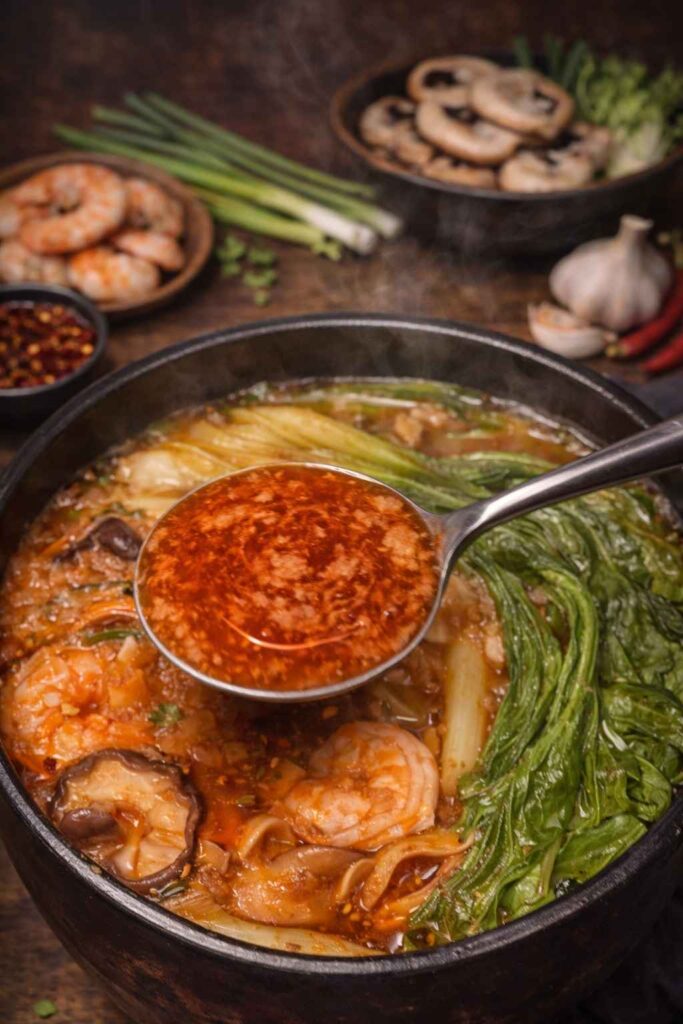
There are weeknight dinners, and then there are weeknight dinners that feel like a genuine reward. This Garlic Chili Oil Ramen with Shrimp is firmly the second kind — a bowl of deeply spiced, richly flavored, deeply comforting ramen that tastes like it came from a serious noodle shop and yet comes together in under 20 minutes in a single pot on your stovetop.
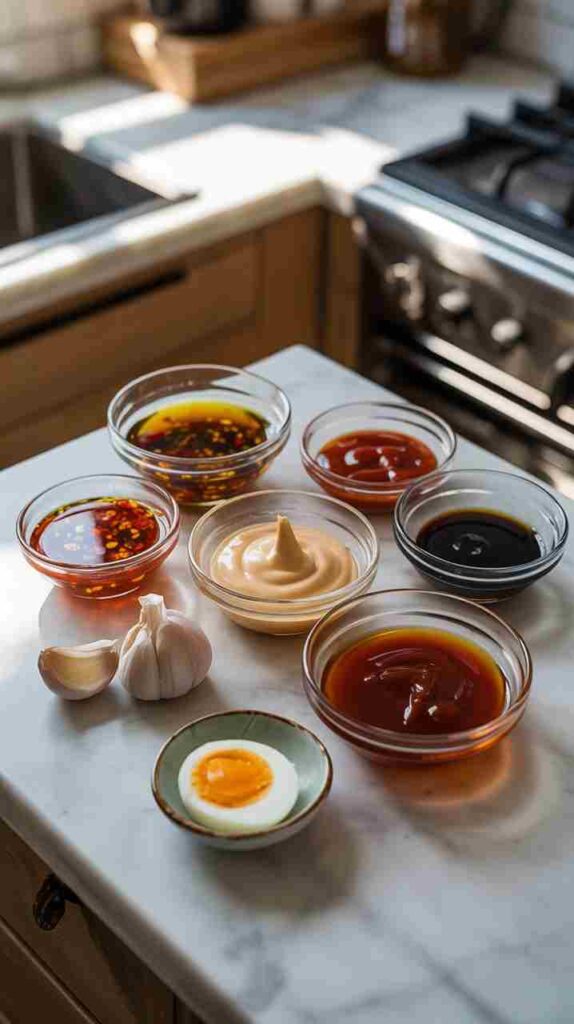
What makes this recipe so extraordinary is the layering of flavor that happens right from the first minute. Garlic chili oil forms the aromatic base. A cracked egg swirled into the hot oil adds richness and body to the broth. Sriracha brings heat. Kewpie mayo — the Japanese staple with a cult following — adds a silky, tangy creaminess that rounds out the spice in a way that regular mayonnaise simply cannot replicate. Oyster sauce ties it all together with a deep, savory umami note that makes the broth taste like it has been simmering for hours.
Add plump, perfectly cooked shrimp, earthy shiitake mushrooms, tender bok choy, and springy ramen noodles — and you have a bowl that is spicy, rich, satisfying, and genuinely beautiful. Whether you are cooking for two on a cold evening or need a fast, impressive dinner that requires almost no effort, this ramen delivers every single time. Here is everything you need to know to make it perfectly.
Recipe Details
| Detail | Information |
|---|---|
| Cuisine | Asian Fusion / Japanese-Inspired |
| Course | Main Course |
| Difficulty | Easy |
| Servings | 2 Servings |
| Prep Time | 5 Minutes |
| Cook Time | 12–15 Minutes |
| Calories per Serving | Approx. 480 kca |
Ingredients
- 8 to 10 raw shrimp — peeled and deveined
- 2 tablespoons garlic chili oil — adjust up or down to your heat preference
- 1 egg — cracked directly into the oil to enrich the broth
- 1 tablespoon sriracha — adjust to your heat tolerance
- 1 tablespoon Kewpie mayo — adds silky creaminess; do not substitute with regular mayo if you can help it
- 1 tablespoon oyster sauce — the umami backbone of the broth
- 3 green onions — chopped, whites and greens separated
- Small handful shiitake mushrooms — sliced
- 1 head baby bok choy — halved or roughly chopped
- 1 block or packet dry ramen noodles — instant noodles work perfectly here; discard the seasoning packet
- 3 to 4 cups broth — chicken, beef, or vegetable depending on your preference
- Soy sauce or salt — to taste at the end
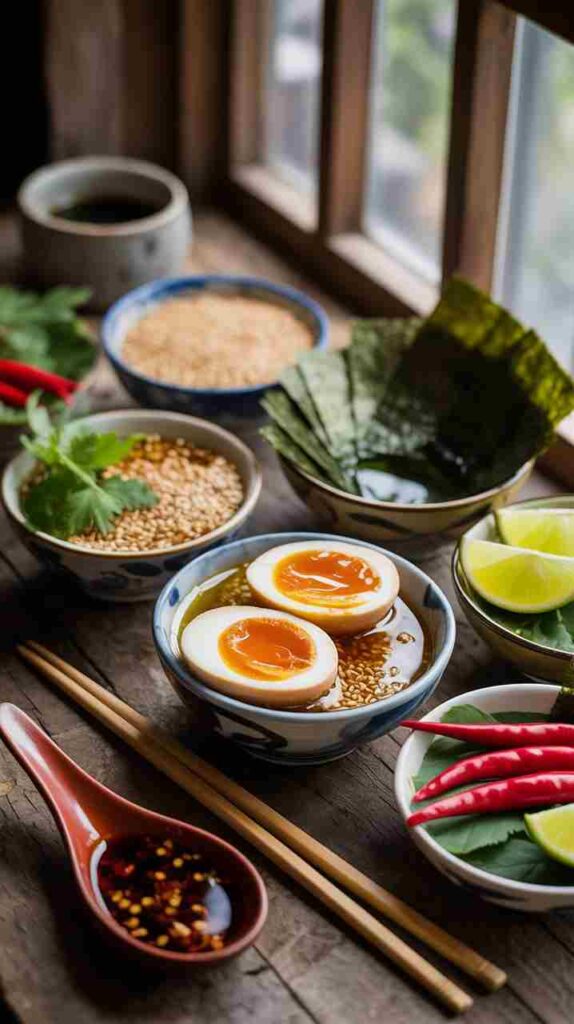
Optional Garnishes
- Extra drizzle of garlic chili oil
- Sesame seeds
- Soft-boiled marinated egg (ramen egg)
- Nori sheets
- Fresh chili slices
- Lime wedge for brightness
Equipment You Will Need
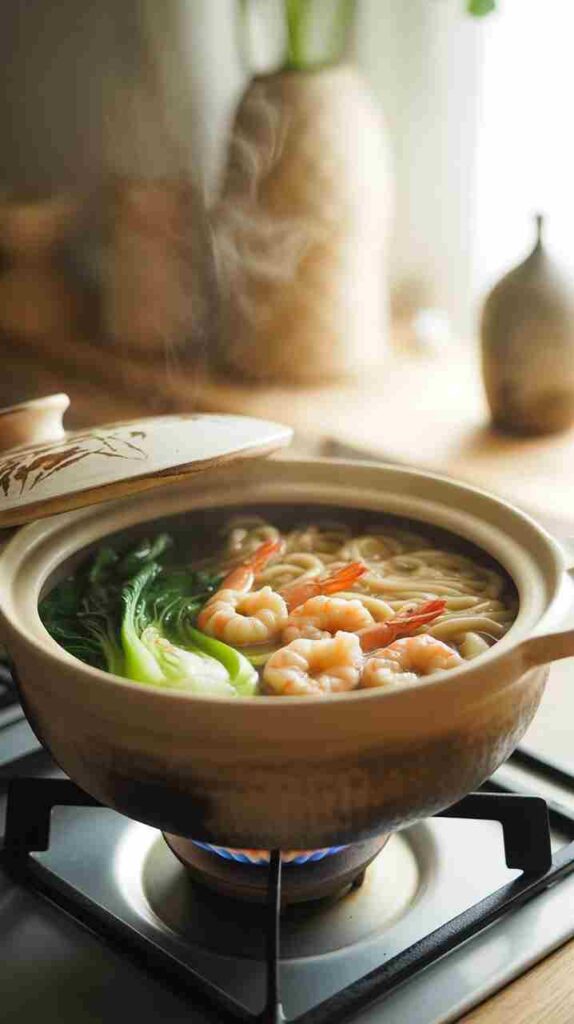
- Donabe (Japanese clay pot) — ideal for this recipe as it retains heat beautifully and looks stunning at the table
- Regular pot or deep skillet — works just as well if you do not own a donabe
- Ladle or wooden spoon for stirring
Step-by-Step Instructions
Step 1: Heat the Garlic Chili Oil
Set your donabe or pot over medium heat. Add the 2 tablespoons of garlic chili oil and let it warm through for about 30 to 60 seconds. You are not looking for smoking-hot oil here — medium heat is intentional. The goal is to gently bloom the garlic and chili aromatics in the oil, coaxing out their full depth of flavor without burning them. If the oil smokes, reduce the heat immediately.
The amount of garlic chili oil you use directly controls the heat level of the entire bowl. Two tablespoons gives you a bold, spicy broth. Scale back to one tablespoon for a milder result, or push to three for serious heat.
Step 2: Crack in the Egg
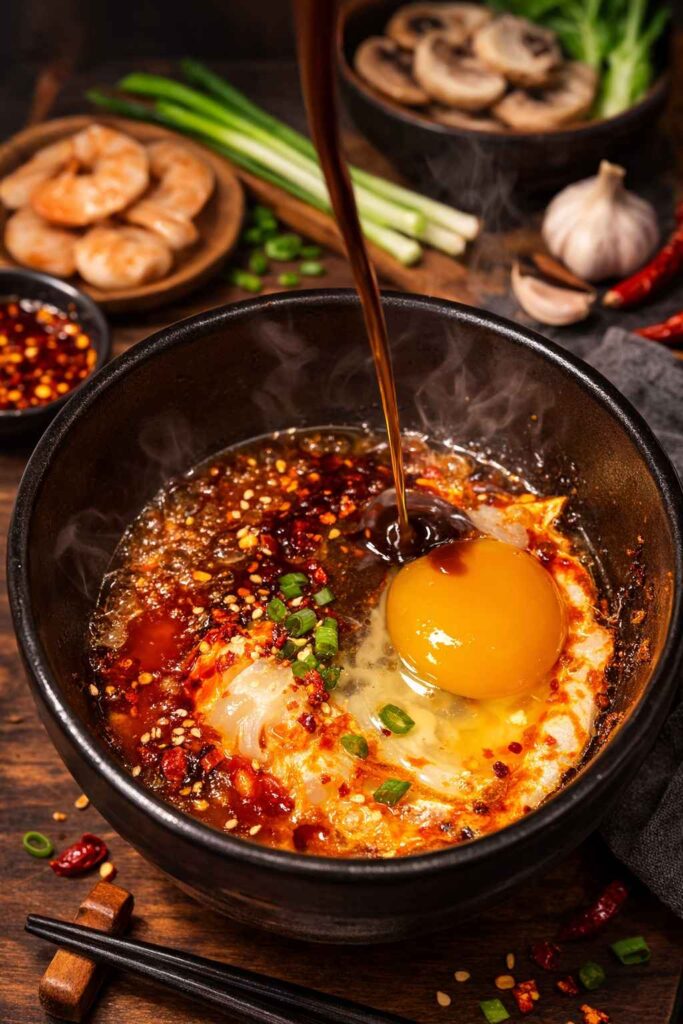
Once the oil is warm, crack the egg directly into the pot. Let it sit undisturbed for about 30 seconds until the white just begins to set around the edges. Do not scramble it. You want it to cook gently in the oil, breaking the yolk slightly as you add the next ingredients. This step is what gives the broth its subtle richness and body — the egg essentially emulsifies into the oil and creates a silkier base for the broth to build on.
Step 3: Add the Flavor Base
Add the sriracha, Kewpie mayo, and oyster sauce directly into the pot with the egg and oil. Stir gently to combine everything into a rough paste. This concentrated flavor base is the soul of the entire ramen. The Kewpie mayo melts into the hot oil and creates a creamy, slightly tangy coating, the sriracha brings punchy heat, and the oyster sauce delivers that deep, caramelized umami note that makes the broth taste far more complex than the ingredient list suggests.
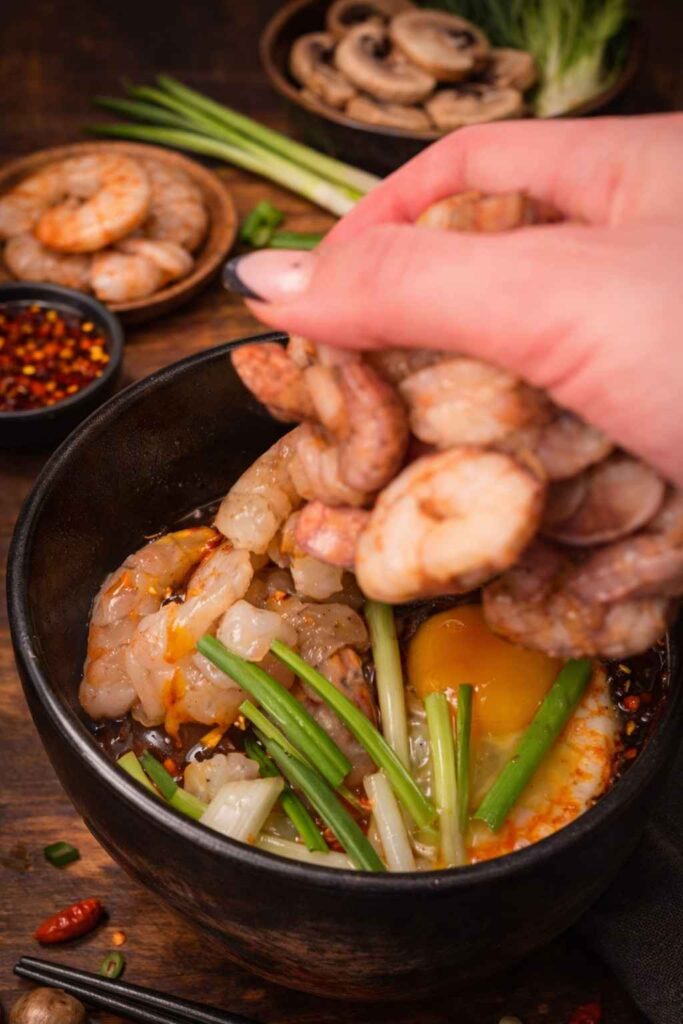
Step 4: Add the Aromatics, Mushrooms, and Shrimp
Add the chopped green onions and sliced shiitake mushrooms to the pot. Let them cook in the flavor base for about 1 to 2 minutes, stirring gently, until the mushrooms begin to soften and pick up all the aromatics from the oil.
Add the shrimp in a single layer and let them sit in the pot without stirring for about 60 seconds, allowing them to take on some color before the broth goes in. Do not cook them through at this stage — they will finish cooking once the broth is added and the noodles simmer.
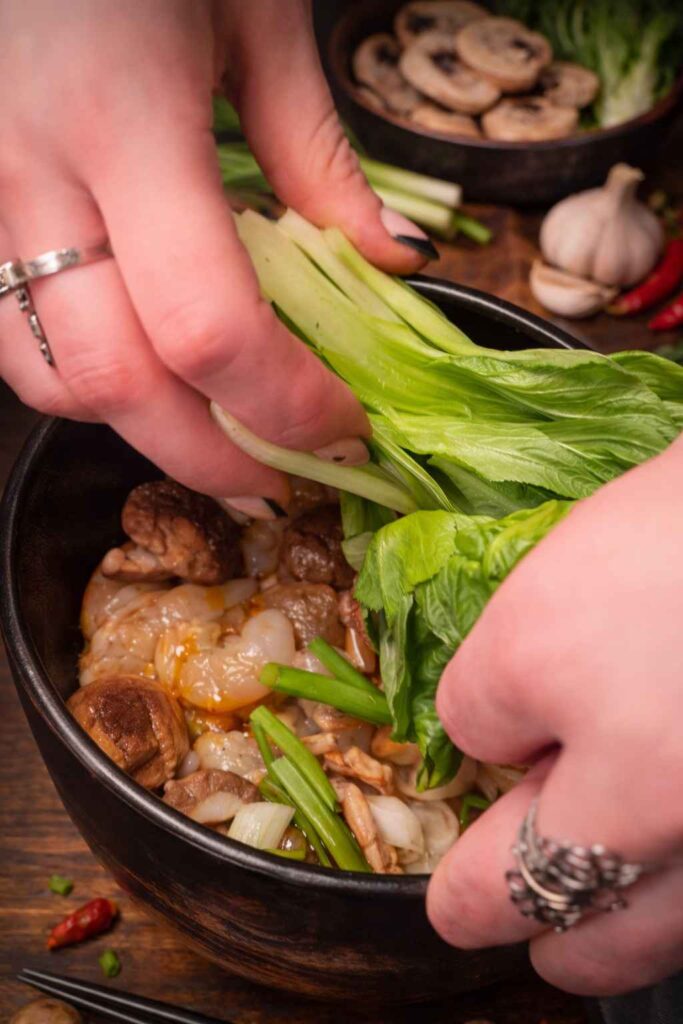
Step 5: Add the Bok Choy, Noodles, and Broth
Nestle the baby bok choy halves into the pot alongside the dry ramen noodles. Pour in enough broth to cover all the ingredients — typically 3 to 4 cups depending on the size of your pot and how brothy you prefer your ramen.
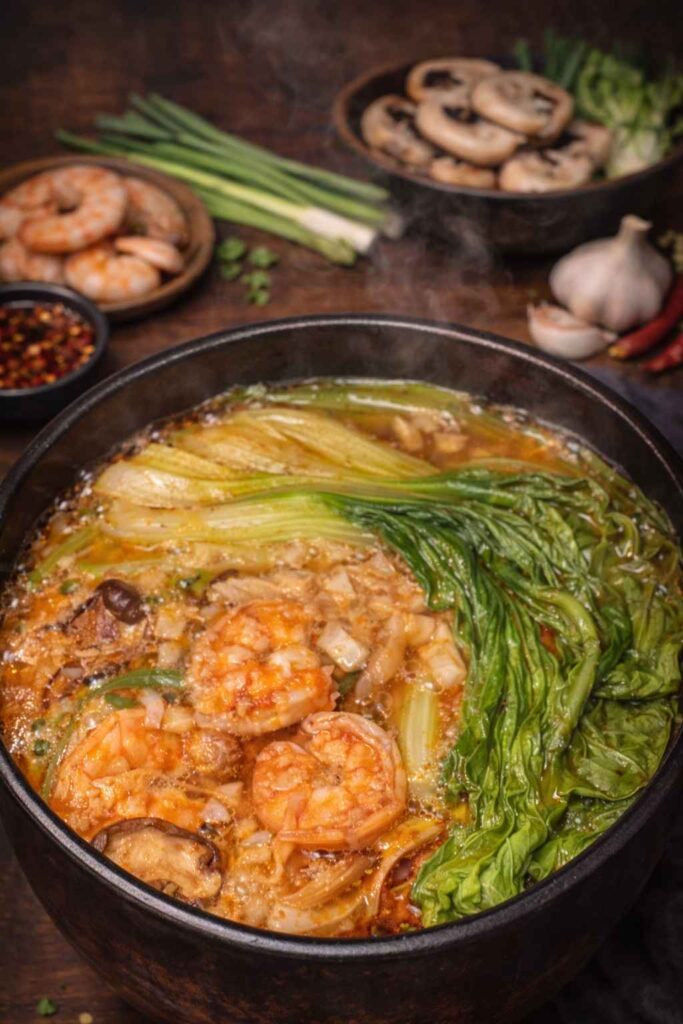
Bring the pot to a gentle simmer over medium heat. Do not rush this to a full rolling boil — a steady, gentle simmer is what cooks everything evenly. Let it cook for 8 to 10 minutes, until the ramen noodles are fully tender, the bok choy is wilted and soft, and the shrimp are pink, opaque, and curled into a C-shape. As everything cooks together, the broth will absorb all the flavors from the chili oil base, the mushrooms, and the shrimp, transforming into something deeply layered and complex.
Step 6: Season and Serve
Taste the broth and season with soy sauce or salt as needed. Every broth is different in its sodium level, so seasoning to taste at the end ensures a perfectly balanced bowl every time.
Serve immediately, directly from the pot if using a donabe — it retains heat and keeps the ramen piping hot all the way through the meal. Finish with your choice of garnishes and an extra drizzle of garlic chili oil if you want to turn the heat up another notch.
Spicy Garlic Chili Oil Shrimp Ramen
Silky broth with Kewpie mayo, sriracha & oyster sauce — ready in under 20 minutes
- 2 tbsp garlic chili oil (adjust for heat)
- 1 egg (cracked into oil)
- 1 tbsp sriracha
- 1 tbsp Kewpie mayo*
- 1 tbsp oyster sauce
- 8–10 raw shrimp, peeled & deveined
- 3 green onions, whites & greens separated
- Small handful shiitake mushrooms, sliced
- 1 head baby bok choy, halved
- 1 block dry ramen noodles (discard packet)
- 3–4 cups broth (chicken/beef/veg)
- Soy sauce or salt, to taste
*Kewpie mayo is key — regular mayo won’t give the same silky creaminess
Heat Garlic Chili Oil
Set donabe or pot over medium heat. Add 2 tbsp garlic chili oil, warm 30–60 sec. DON’T smoke it — medium heat blooms the aromatics without burning. If it smokes, reduce heat immediately. Oil amount = heat level of entire bowl.
Crack in the Egg
Crack egg directly into warm oil. Let sit undisturbed 30 sec until white just sets at edges. Don’t scramble — let it cook gently, breaking yolk slightly. This emulsifies into oil, creating silkier base for broth.
Build Flavor Base
Add sriracha, Kewpie mayo, and oyster sauce directly to pot. Stir gently into rough paste. This is the soul of the ramen — mayo melts into creamy coating, sriracha brings heat, oyster sauce delivers deep umami.
Add Aromatics & Shrimp
Add green onions and sliced shiitakes. Cook 1–2 min until mushrooms soften. Add shrimp in single layer, let sit 60 sec to get color — don’t cook through yet, they’ll finish in broth.
Add Bok Choy, Noodles & Broth
Nestle bok choy and dry ramen noodles into pot. Pour 3–4 cups broth to cover everything. Bring to gentle simmer (NOT rolling boil). Cook 8–10 min until noodles tender, bok choy wilted, shrimp pink and curled into C-shape.
Season & Serve
Taste broth, season with soy sauce or salt as needed. Serve immediately — directly from donabe if using (retains heat beautifully). Add garnishes: extra chili oil, sesame seeds, ramen egg, nori, fresh chilis, lime wedge.
Tips for the Best Results
Use Kewpie mayo, not regular mayo. Kewpie is made with egg yolks only (rather than whole eggs) and rice vinegar, which gives it a richer flavor and silkier texture than standard mayonnaise. It is widely available in most grocery stores in the Asian foods aisle and makes a genuinely noticeable difference in this recipe.
Do not overcook the shrimp. Shrimp are done the moment they turn pink and curl into a C-shape. An O-shape means overcooked and rubbery. Since they go into the pot before the broth, keep a close eye on them during the simmer and pull the bowl off the heat as soon as they are just cooked through.
Use good broth. The broth is a significant part of the final flavor, so quality matters here. A good store-bought chicken or beef broth works beautifully. For a deeper flavor, a homemade or restaurant-quality bone broth elevates the entire bowl significantly.
A donabe is worth the investment. If you make Asian one-pot dishes regularly, a donabe is a wonderful addition to your kitchen. It distributes heat evenly, retains it exceptionally well, and goes straight from stove to table as a beautiful serving vessel.
Customize the heat freely. The chili oil and sriracha quantities are guidelines, not rules. This recipe is built to be adjusted to your personal tolerance. Start with less if you are heat-sensitive; the garlic chili oil flavor still comes through at lower quantities without the full intensity.
Frequently Asked Questions
Can I use cooked shrimp instead of raw? You can, but the result will be less flavorful since cooked shrimp do not release the same savory juices into the broth as they cook. If using pre-cooked shrimp, add them in the final 2 minutes of simmering just to warm through — any longer and they will become tough and rubbery.
What can I substitute for garlic chili oil? Chili crisp (like Laoganma brand) is an excellent substitute and adds a similar heat with extra crunchy texture. A combination of sesame oil, minced garlic, and red chili flakes is a workable homemade alternative in a pinch.
Can I make this vegetarian? Easily. Replace the shrimp with firm tofu or extra shiitake mushrooms, swap the oyster sauce for a vegetarian oyster sauce or hoisin sauce, and use vegetable broth. The garlic chili oil, Kewpie mayo, and sriracha base remains exactly the same.
What type of ramen noodles work best? Standard instant ramen blocks work perfectly — just discard the seasoning packet. Fresh ramen noodles from an Asian grocery store will give you an even better texture if you have access to them. Rice noodles are a great gluten-free alternative.
Conclusion

This Garlic Chili Oil Ramen with Shrimp is the kind of recipe that quietly becomes a regular in your kitchen because it delivers so much for so little effort. Deeply spiced, richly flavored, and packed with tender shrimp, earthy mushrooms, and vibrant bok choy, it is a bowl that satisfies on every level — and the fact that it comes together in under 20 minutes in a single pot makes it almost unfairly good.
The combination of garlic chili oil, Kewpie mayo, sriracha, and oyster sauce creates a broth with genuine restaurant-level complexity, and once you understand the simple technique behind it, you will find yourself riffing on this formula endlessly. Different proteins, different vegetables, different heat levels — the base is incredibly versatile and forgiving.
Make it once and it will earn a permanent spot in your weeknight dinner rotation.
Browse Every Recipe
The Complete Recipe Collection
From comforting weeknight dinners to elegant cocktails — every recipe from Relish the Recipe, all in one place.
- Beef Bourguignon
- Steak au Poivre
- Perfect Filet Mignon
- Grilled Coffee-Cola Skirt Steak
- Grilled Mojo Beef
- Vietnamese Lemongrass Chicken
- Honey Balsamic Pomegranate Glazed Chicken
- Mushroom Stuffed Chicken Breast
- Zesty Herb Marinated Grilled Chicken Thighs
- Baked French Onion Chicken
- One-Pan Tuscan Orzo with Chicken
- Creamy Peri Peri Chicken Pasta
- One-Pan Chicken Chorizo Orzo
- Jamaican Jerk Chicken & Plantain Skillet
- Pan Seared Pork Tenderloin in Peppercorn Gravy
- Citrus Glazed Roasted Pork Ribs
- Smothered Pork Chops with Mushroom Gravy
- Teriyaki Pork Noodles
- One-Pan Chorizo Rice Skillet
- Greek Lemon Roast Lamb & Potatoes
- Greek Lamb with Orzo
- Classic Greek Beef Stifado
- Sausage Ragù
- Italian Sausage & Lamb Ragù
- Sausage & Pepper Bolognese
- Sausage Ragù with Spinach & Ricotta
- Sausage & Zucchini Rigatoni
- 3 Italian-Style Meatloaves
- Brown Butter & Sage Mezzi Rigatoni
- Red Pesto Gnocchi
- Creamy Chicken Meatball Orzo
- Creamy French Onion Orzo Casserole
- Quick Vegan Lasagna
- Vegan Ramen
- Spicy Maple Tofu Rice Bowl
- Oven-Baked Potatoes with Meatballs & Cheese
- Oven-Roasted Crispy Potatoes
- Crispy Potato Tacos
- Korean Sweet & Spicy Beef Meatballs
- Lean Jalapeño Beef Burger
- Vegan Bulgogi Pinwheels
- Vegan Cabbage Rolls
- Creamy Broccoli & Garlic Soup
- New England Creamy Clam Chowder
- Manhattan Clam Chowder
- Split Pea Soup
- Ham & Bean Soup
- Hearty Vegetable Barley Soup
- Creamy Asparagus Soup
- French Cream of Chestnut Soup
- Classic Provençal Fish Soup
- Carnival Squash Soup with Turmeric
- Vegan Chicken & Dumpling Soup
- 30-Minute Creamy Shrimp Alfredo
- Crispy Buffalo Chicken Wonton Cups
- Buffalo Chicken Cauliflower Dip
- Buffalo Chicken Garlic Bread
- Crispy Garlic Parmesan Wings
- Garlic Butter Cheese Bombs
- Quick Ham & Cheese Pinwheels
- Philly Cheesesteak Stuffed Rolls
- Bacon Cheeseburger Dip
- Pepperoni Pizza Dip
- Brown Sugar Bacon-Wrapped Smokies
- Chili Crisp Egg Avocado Toast
- Crispy Rice Cake Benedict
- Savory Chicken Salad Cucumber Rolls
- Cabbage & Lentil Rolls
- Shrimp Bruschetta
- Honey Butter Cornbread
- Spinach & Onion Savory Jam
- Ultimate Big Mac Salad
- Chicken & Potato Croquettes
- High-Protein Lentil Crackers
- Blueberry Tiramisu
- Kunafa Tiramisu
- Lighter Eggnog Tiramisu
- Mirror Glaze Raspberry Mousse Cake
- Ombré Heart Buttercream Cake
- Valentine’s Day Mini Cakes
- Molten Mini Chocolate Lava Cakes
- High-Protein Pumpkin Mousse
- No-Bake Oreo Delight
- No-Bake Pistachio Cheesecake
- No-Bake Banana Pudding
- Samoa Brownies
- Cream Cookie Chunk Fudge
- Thin & Chewy Chocolate Chip Cookies
- Red Velvet Cookies
- Valentine Heart Cookies
- Strawberry Cheesecake Tacos
- Healthy Oatmeal Apple Banana Cake
- Sugar-Free Oat Cakes
- Sugar-Free Banana Oat Brownies
- Coconut Cove Baked Oatmeal
- Blueberry Apple Morning Oats Cake
- Sugar-Free Dates, Banana & Chocolate
- Low-Carb Cottage Cheese Ice Cream
- Keto Schnitzel
- Keto Beef Roulades
- Fluffy Keto Cloud Bread
- Keto Muffins
- Keto German Chocolate Cake
- Keto Yogurt Almond Cake
- Keto Spinach & Feta Omelette
- Keto Bacon Cheeseburger Casserole
- Keto Eggplant Parmesan
- 15-Min Keto Creamy Garlic Chicken
- Low-Carb Tuscan Chicken Bake
- One-Pot Zoodle Alfredo
- Keto Garlic & Herb Breadsticks
- Keto Chocolate Chip Banana Bread
- Keto Tortillas
- 3-Ingredient Carnivore Bun
- Mediterranean Stuffed Roasted Peppers
- Red Lentil Bread
- Classic Whiskey Sour
- Old Fashioned
- Manhattan
- Hot Apple Whisky Lime
- Classic Margarita
- Frozen Strawberry Margarita
- Strawberry Coconut Margarita
- Mango Chilli Margarita
- Paloma
- Aperol Spritz
- Moscow Mule
- Strawberry Basil Mule
- Vodka Cranberry
- 3 Ways: Blueberry Vodka Lemonade
- Homemade Piña Colada
- Mermaid Mimosa
- Passion Fruit Martini
- Honolulu Highball
- Angel Face
- Mandarin Sunrise
- Pomegranate Gimlet
- Southside Gin Cocktail
- Paper Plane
- White Lady
- Almond Joy Cocktail
- Green Tea Shot
- Black Grapes Mojito
- 10 Best Rum Cocktails